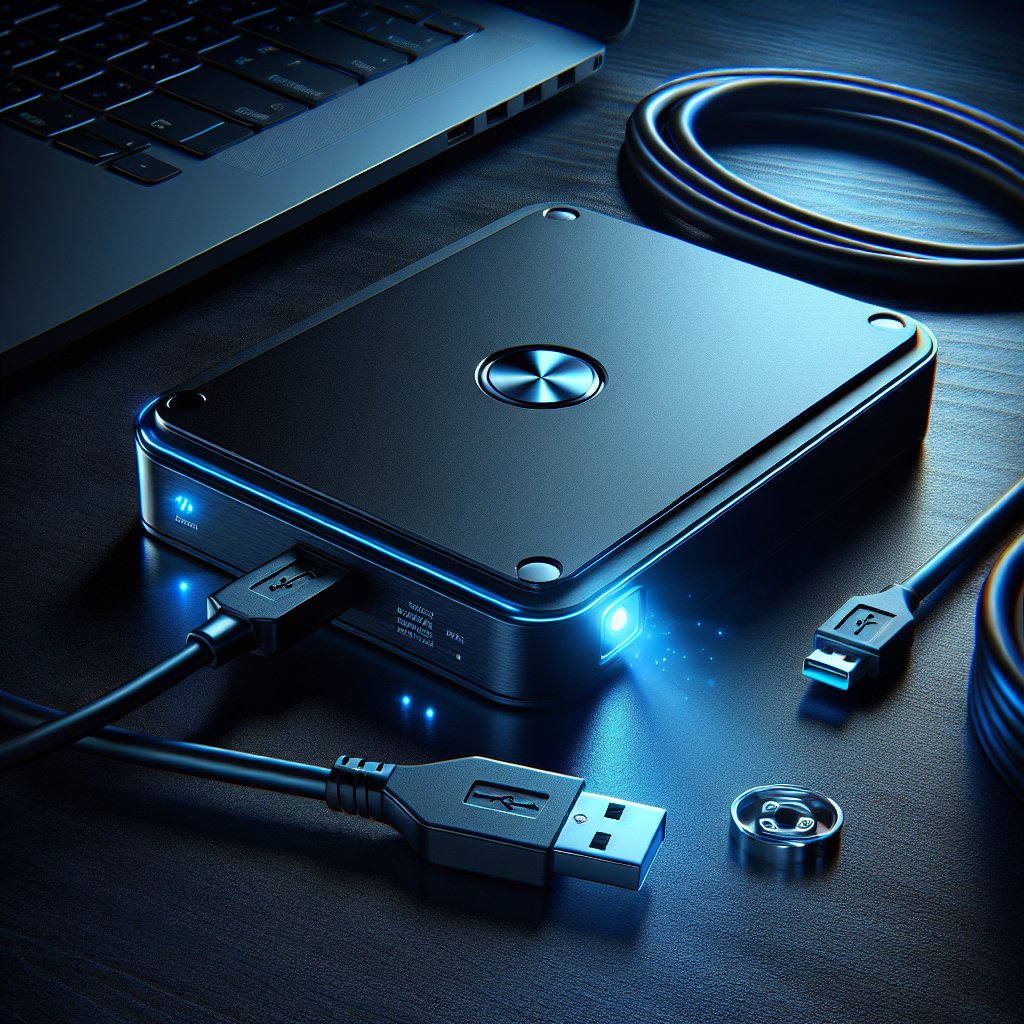
External hard drives are the backup devices, file shuttles, and media libraries that accumulate years of personal data — and they often get passed along, sold, or recycled with all that data intact. A 2022 survey by a UK data recovery firm found sensitive files on more than half of the secondhand USB drives they purchased online. Unlike wiping an internal system drive, erasing an external drive is straightforward because you are never wiping the disk your OS runs on. But the correct method still depends on whether your portable drive is an HDD or an SSD, and what USB interface sits between them.
Key Takeaways:
- Wiping an external drive is simpler than wiping an internal boot drive because your OS is not running on it
- External HDDs can be securely erased with a single-pass overwrite using built-in OS tools or free software
- External SSDs have the same wear leveling limitations as internal SSDs — firmware-level erase commands are ideal but may not pass through USB bridges
- Hardware-encrypted drives like WD My Passport can be crypto-erased by resetting the encryption key through the manufacturer's software
- USB 2.0 connections dramatically slow down wipe times — use USB 3.0 or faster whenever possible
External HDD vs. External SSD: Know What You Are Wiping
Before you start, check whether your external drive is an HDD or an SSD. The erasure method depends on it.
External HDDs include popular portable drives like the Seagate Backup Plus, WD Elements, and Toshiba Canvio. These contain spinning magnetic platters inside a plastic or metal enclosure. A single-pass overwrite erases them completely and reliably, just like an internal HDD.
External SSDs include the Samsung T7, SanDisk Extreme, Crucial X8, and similar devices. These contain NAND flash memory with the same wear leveling and over-provisioning architecture as internal SSDs. Software-based overwriting cannot reach every cell. For a full explanation of why SSDs need different treatment, see our SSD vs. HDD data erasure differences article.
How to tell: Check the product label or packaging. If the drive is small, lightweight (under 100 grams), and has no moving parts when you shake it gently, it is almost certainly an SSD. Larger, heavier portable drives are usually HDDs. You can also check the model number online or look in your OS disk management tool — Windows Device Manager and macOS System Information both report the drive model.
The USB Bridge Problem
Here is something most guides skip: external drives connect through a USB-to-SATA or USB-to-NVMe bridge controller. This bridge translates between the USB protocol and the drive's native interface. The problem is that many bridge controllers do not pass through firmware-level commands like ATA Secure Erase or NVMe Sanitize.
This means:
- Overwrite commands (writing zeros or random data) work fine through USB — these are standard read/write operations
- ATA Secure Erase may or may not work, depending on the bridge chip (ASMedia bridges tend to pass it through; JMicron and Realtek bridges often block it)
- NVMe Sanitize is rarely passed through USB bridges on consumer portable SSDs
- TRIM may or may not be supported, depending on the bridge and OS
For external HDDs, this is not a concern — overwriting works perfectly through USB. For external SSDs, this is a real limitation. If you need firmware-level erasure on an external SSD, you may need to remove the drive from its enclosure and connect it directly to a SATA or M.2 port.
Bottom Line: For external HDDs, any standard overwrite method works through USB. For external SSDs, a full format through USB is the practical option for most people. If you need firmware-level secure erase on a portable SSD, connect the bare drive directly to your motherboard or use a tool that supports USB passthrough of sanitize commands.
Method 1: Windows — DiskPart Clean All
DiskPart is built into every version of Windows and writes zeros to every sector of the drive. This is the simplest method for wiping an external HDD on Windows. It also works for external SSDs as a full overwrite, though with the SSD limitations noted above.
Step-by-Step
- Connect the external drive to your computer via USB
- Open Command Prompt as Administrator (search "cmd," right-click, choose "Run as administrator")
- Type
diskpartand press Enter - Type
list diskand press Enter — identify your external drive by its size
DISKPART> list disk

  Disk ###  Status         Size     Free     Dyn  Gpt
  --------  -------------  -------  -------  ---  ---
  Disk 0    Online          476 GB      0 B        *
Disk 1 Online 931 GB 0 B *- Type
select disk Xwhere X is the number of your external drive (in this example, Disk 1 is the 1 TB external). Triple-check this number. Selecting the wrong disk will destroy your operating system. - Type
clean alland press Enter - Wait for the process to complete. A 1 TB HDD takes roughly 3 to 5 hours over USB 3.0.
DISKPART> select disk 1
Disk 1 is now the selected disk.

DISKPART> clean all
DiskPart succeeded in cleaning the disk.- After completion, type
create partition primary, thenformat fs=ntfs quick(orformat fs=exfat quickfor cross-platform compatibility) to make the drive usable again.
Tip: The clean command (without "all") only removes partition information — it does not overwrite data. Always use clean all for secure erasure.
Method 2: macOS — Disk Utility
macOS Disk Utility provides a built-in erase function with optional security settings for HDDs.
Step-by-Step for External HDDs
- Connect the external drive
- Open Disk Utility (Applications > Utilities > Disk Utility)
- Select the external drive in the left sidebar — choose the physical drive, not a partition beneath it
- Click Erase
- Click Security Options at the bottom of the dialog
- Move the slider to at least the second position (single-pass zero overwrite). The first position is a quick erase with no overwriting.
- Choose a format: APFS, Mac OS Extended (Journaled), or ExFAT for cross-platform use
- Click Erase and wait for the process to complete
Note on external SSDs: macOS disables the Security Options slider for SSDs because Apple recognizes that software overwriting is unreliable on flash storage. For external SSDs, the standard Erase function in Disk Utility performs a basic format. On hardware-encrypted drives, this triggers a crypto erase. For non-encrypted external SSDs, this is the best option available through USB on macOS.
macOS Terminal Alternative
For more control, use the diskutil command:
diskutil list                          # Identify your external drive
diskutil secureErase 1 /dev/diskX      # Single-pass zero-fill (HDD)
Replace /dev/diskX with your actual drive identifier. Secure erase levels: 1 = single-pass zeros, 2 = three-pass (DOE standard), 3 = seven-pass, 4 = Gutmann 35-pass. Level 1 is sufficient for any modern HDD.
Method 3: Linux — dd or nwipe
Linux offers the most flexible command-line tools for wiping external drives.
Using dd
The dd command writes directly to the block device, overwriting every sector:
sudo fdisk -l                                           # Identify the drive
sudo dd if=/dev/zero of=/dev/sdX bs=4M status=progress  # Overwrite with zeros
Replace /dev/sdX with your external drive's device path. The status=progress flag shows the write speed and amount written. A 1 TB external HDD over USB 3.0 typically writes at 80-120 MB/s, completing in roughly 3 to 4 hours.
For random data instead of zeros (marginally more secure, same practical outcome on modern drives):
sudo dd if=/dev/urandom of=/dev/sdX bs=4M status=progressWarning: dd operates silently and irreversibly. There is no confirmation prompt. Specifying the wrong device path will destroy that device's data immediately.
Using nwipe
nwipe provides an interactive, menu-driven interface that is harder to use incorrectly:
sudo apt install nwipe    # Debian/Ubuntu
sudo dnf install nwipe    # Fedora/RHEL
sudo nwipe
When nwipe launches, it lists all detected drives. Use the arrow keys to highlight your external drive and press Space to select it. Press S to start the wipe. nwipe defaults to a single-pass zero overwrite, which is sufficient. It displays real-time progress, speed, and estimated time remaining.
For a full overview of nwipe and the bootable ShredOS environment built around it, see our ShredOS/nwipe review.
Method 4: Third-Party Software
If you prefer a graphical interface, need erasure certificates for compliance, or want to wipe multiple drives efficiently, dedicated software handles the job.
BitRaser Drive Eraser
BitRaser Drive Eraser supports external HDDs and SSDs connected via USB. It generates tamper-proof PDF certificates of erasure that include the drive serial number, erasure method, and verification result — required for compliance with HIPAA, GDPR, PCI DSS, and other regulations. BitRaser attempts to send firmware-level commands through USB bridges where supported and falls back to overwriting where it cannot. Plans start at $39 per drive.
KillDisk
KillDisk offers both a free and professional version. The free version performs a single-pass zero overwrite on external drives — sufficient for personal use. The professional version ($59.95+) adds multiple erasure standards, certificates, and batch processing for multiple drives. KillDisk runs from within Windows or as a bootable environment.
For a full comparison of erasure software options, see our best data erasure software roundup.
Method 5: Hardware-Encrypted Drives (WD My Passport, Samsung T7 Shield)
Several popular external drives include hardware encryption that is always active, even if you never set a password. WD My Passport, My Book, and some Seagate models encrypt all data written to the drive using a media encryption key (MEK) stored on the drive's controller. The Samsung T7 Shield and T9 also support hardware encryption.
For these drives, the fastest and most thorough erasure method is crypto erase — destroying the encryption key so that all data on the drive becomes permanently unreadable.
WD My Passport / My Book
- Download and install WD Discovery or WD Drive Utilities from the Western Digital support site
- Open the utility and select your WD drive
- Navigate to Drive Erase or Security settings
- Choose to erase the drive or reset the password — this destroys the encryption key
- The process completes in seconds
If you set a password through WD Security and have forgotten it, entering the wrong password five times triggers a factory reset that destroys the MEK.
Samsung T7 / T9
- Download Samsung Portable SSD Software from the Samsung support site
- Open the software and select your Samsung portable SSD
- If encryption was enabled, use the Reset option to destroy the encryption key
- For drives without user-enabled encryption, perform a full format through your OS
Note: Crypto erase is only effective if the drive's encryption was functioning correctly. Some older WD My Passport models had vulnerabilities where data could be accessed without the key. For drives manufactured after 2018, the encryption implementations are generally trustworthy.
USB Speed and Wipe Time
The USB interface directly affects how long an overwrite takes. Firmware-level commands are not affected by USB speed (they execute on the drive controller), but overwrite operations are limited by the connection's throughput.
| USB Version | Max Throughput | Time to Wipe 1 TB (Overwrite) |
|---|---|---|
| USB 2.0 | 480 Mbps (practical: ~35 MB/s) | 8–10 hours |
| USB 3.0 / 3.1 Gen 1 | 5 Gbps (practical: ~100 MB/s) | 3–4 hours |
| USB 3.1 Gen 2 | 10 Gbps (practical: ~200 MB/s) | 1.5–2 hours |
| USB 3.2 Gen 2x2 / USB4 | 20+ Gbps (practical: ~400 MB/s) | Under 1 hour |
If your external HDD is connected via USB 2.0 and the wipe is running painfully slow, move it to a USB 3.0 port. The blue USB-A port on most computers indicates USB 3.0 or later. This single change can cut wipe time by 60-70%.
External SSDs are less affected by USB bottlenecks during a format or overwrite because the SSD controller manages write operations internally. A full format of a 1 TB external SSD over USB 3.0 typically finishes in 15 to 30 minutes.
Common Mistakes When Wiping External Drives
Using "quick format" and calling it done. A quick format in Windows or macOS only erases the file system index. The actual data remains fully intact and recoverable. A quick format takes seconds — a proper wipe takes hours. If it finished in under a minute, it was not a real wipe.
Wiping the wrong drive. With multiple USB devices connected, it is easy to select the wrong disk number in DiskPart or the wrong device path in dd. Disconnect all USB devices except the one you are wiping. Verify the drive by its size, model name, and partition layout before issuing any destructive command.
Assuming an external SSD wipes like an external HDD. Running diskpart clean all on an external SSD will overwrite the user-addressable space, but over-provisioned areas and wear-leveled cells may retain data. Know your drive type and use the appropriate method.
Ignoring hardware encryption. If your WD My Passport or Samsung T7 has built-in encryption, a crypto erase through the manufacturer's software is faster and more thorough than an overwrite. Do not spend four hours overwriting a drive you can crypto-erase in two seconds.
Forgetting to verify. After wiping, reformat the drive and run a free file recovery tool (Recuva on Windows, TestDisk on Linux/macOS) to confirm no recoverable files remain. If the tool finds nothing, your wipe worked.
Frequently Asked Questions
How long does it take to wipe an external hard drive?
For an external HDD, a single-pass overwrite of a 1 TB drive over USB 3.0 takes roughly 3 to 5 hours. USB 2.0 connections can double or triple that time. External SSDs connected via USB complete a full format in minutes, though firmware-level secure erase — when available through the USB bridge — finishes in seconds.
Is formatting an external hard drive the same as wiping it?
No. A quick format only removes the file system index and takes seconds. The actual data remains on the drive and can be recovered with free software. A proper wipe overwrites every sector with new data or issues a firmware-level sanitize command. Always perform a full wipe — not just a format — before selling, donating, or recycling an external drive.
Can I wipe an external hard drive without a computer?
Most external drives cannot be wiped without a computer. Some NAS devices and hardware duplicators include wipe functions, but for standard portable drives like a WD My Passport or Seagate Backup Plus, you need a Windows, Mac, or Linux computer to perform the erasure.
Does a full format securely erase an external SSD?
A full format overwrites the user-addressable space on the drive, but it does not reach over-provisioned or wear-leveled areas on an SSD. For most personal use cases, a full format is the best option available through a USB connection since firmware-level commands often cannot pass through USB bridges. If you need a higher level of assurance, remove the SSD from its enclosure and connect it directly via SATA or NVMe.
Will wiping my external hard drive damage it?
No. A standard single-pass overwrite does not damage an HDD. For external SSDs, a full format adds one write cycle across the drive — negligible relative to its total endurance rating. The drive will function normally after wiping and can be reformatted for reuse.
Can I use DBAN to wipe an external hard drive?
You can, but you do not need to. DBAN requires booting from a USB drive, which adds unnecessary complexity for an external drive that is not your system disk. Since the external drive is a secondary device, you can wipe it from within your running OS using tools like diskpart, Disk Utility, dd, or third-party software like BitRaser or KillDisk.
How do I wipe a WD My Passport with hardware encryption?
WD My Passport drives with built-in hardware encryption can be crypto-erased by performing a factory reset through WD Discovery or WD Drive Utilities software. This destroys the encryption key, rendering all data on the drive permanently unreadable. The process completes in seconds and is the most effective method for these drives.
Can someone recover data from a wiped external hard drive?
After a proper single-pass overwrite on an external HDD, data recovery is not feasible with commercially available tools. For external SSDs that were fully formatted through USB, trace amounts of data may theoretically remain in over-provisioned areas, but practical recovery from formatted external SSDs is extremely difficult without specialized lab equipment.
Do I need to wipe an external SSD differently than an external HDD?
Yes. External HDDs can be securely wiped with a single-pass overwrite using any standard tool. External SSDs have wear leveling and over-provisioning that software overwriting cannot fully address. For external SSDs, a full format is the practical option through USB, or use the manufacturer's crypto-erase if the drive supports hardware encryption.
Should I wipe my external hard drive before recycling it?
Absolutely. Recycling centers do not wipe drives. External drives are easy to plug into any computer and browse, making them an even greater risk than internal drives if they end up in the wrong hands. Always wipe before recycling, donating, or disposing of any external storage device. See our guide to wiping before selling for the complete pre-disposal process.
The Bottom Line
Wiping an external drive is easier than wiping an internal boot drive since your OS is not running on it. For external HDDs, use diskpart clean all on Windows, Disk Utility with Security Options on macOS, or dd/nwipe on Linux — a single overwrite pass is all you need. For external SSDs, a full format is the practical choice through USB. For hardware-encrypted portable drives, crypto erase through the manufacturer's software is the fastest and most complete option. Start with our complete guide to wiping a hard drive for method recommendations across all drive types.
Last updated: February 2026. We regularly review and update our guides to ensure accuracy.
Sources:
- NIST Special Publication 800-88 Rev. 2, Guidelines for Media Sanitization (September 2025). https://csrc.nist.gov/publications/detail/sp/800-88/rev-2/final
- Western Digital, "WD Security and Encryption FAQ." https://support-en.wd.com/app/answers/detailweb/a_id/1078
- Samsung Semiconductor, Portable SSD Software. https://semiconductor.samsung.com/consumer-storage/portable-ssd/
- USB Implementers Forum, USB 3.2 Specification. https://www.usb.org/document-library/usb-32-specification-released-september-22-2017-and-ecns
- IEEE 2883-2022, Standard for Sanitizing Storage. https://standards.ieee.org/ieee/2883/10165/